Showing posts with label Eastern Beauty. Show all posts

Thursday, 19 July 2018

Thrifty Thursday #4

My Thrifty Thursday card was put together using some of the lavish paper on offer during SALE-A-Bration. You know, spend $90 and choose an item for free. This paper is gorgeous enough as it is, but with a little colouring with a green Stampin' Blend .... well!


I always have die cut flowers in plastic containers, all ready to use. It's a great way to use up scraps of paper, and saves time when you decide to make a quick card. These are from Beautiful Bouquet and the cheery sentiment is from Eastern Beauty. The tiny piece of ribbon was destined for the rubbish. Now that's thrifty!!!

GR9CWSP3


Wednesday, 25 April 2018

Pretty In Pink CI32


Colour INKspiration is a fortnightly blog initiated by Bronwyn Eastley in Tasmania. The design team is made up of Stampin' Up! demonstrators from all parts of Australia and New Zealand.You are at the blog of Rachel Palmieri, Independent Stampin' Up!® demonstrator. I run classes at my home studio in South Morang, Victoria, share Stampin' Up!® products and tools at parties for my customers, coach my lovely team and create cards and the occasional 3D project.

No automatic alt text available.

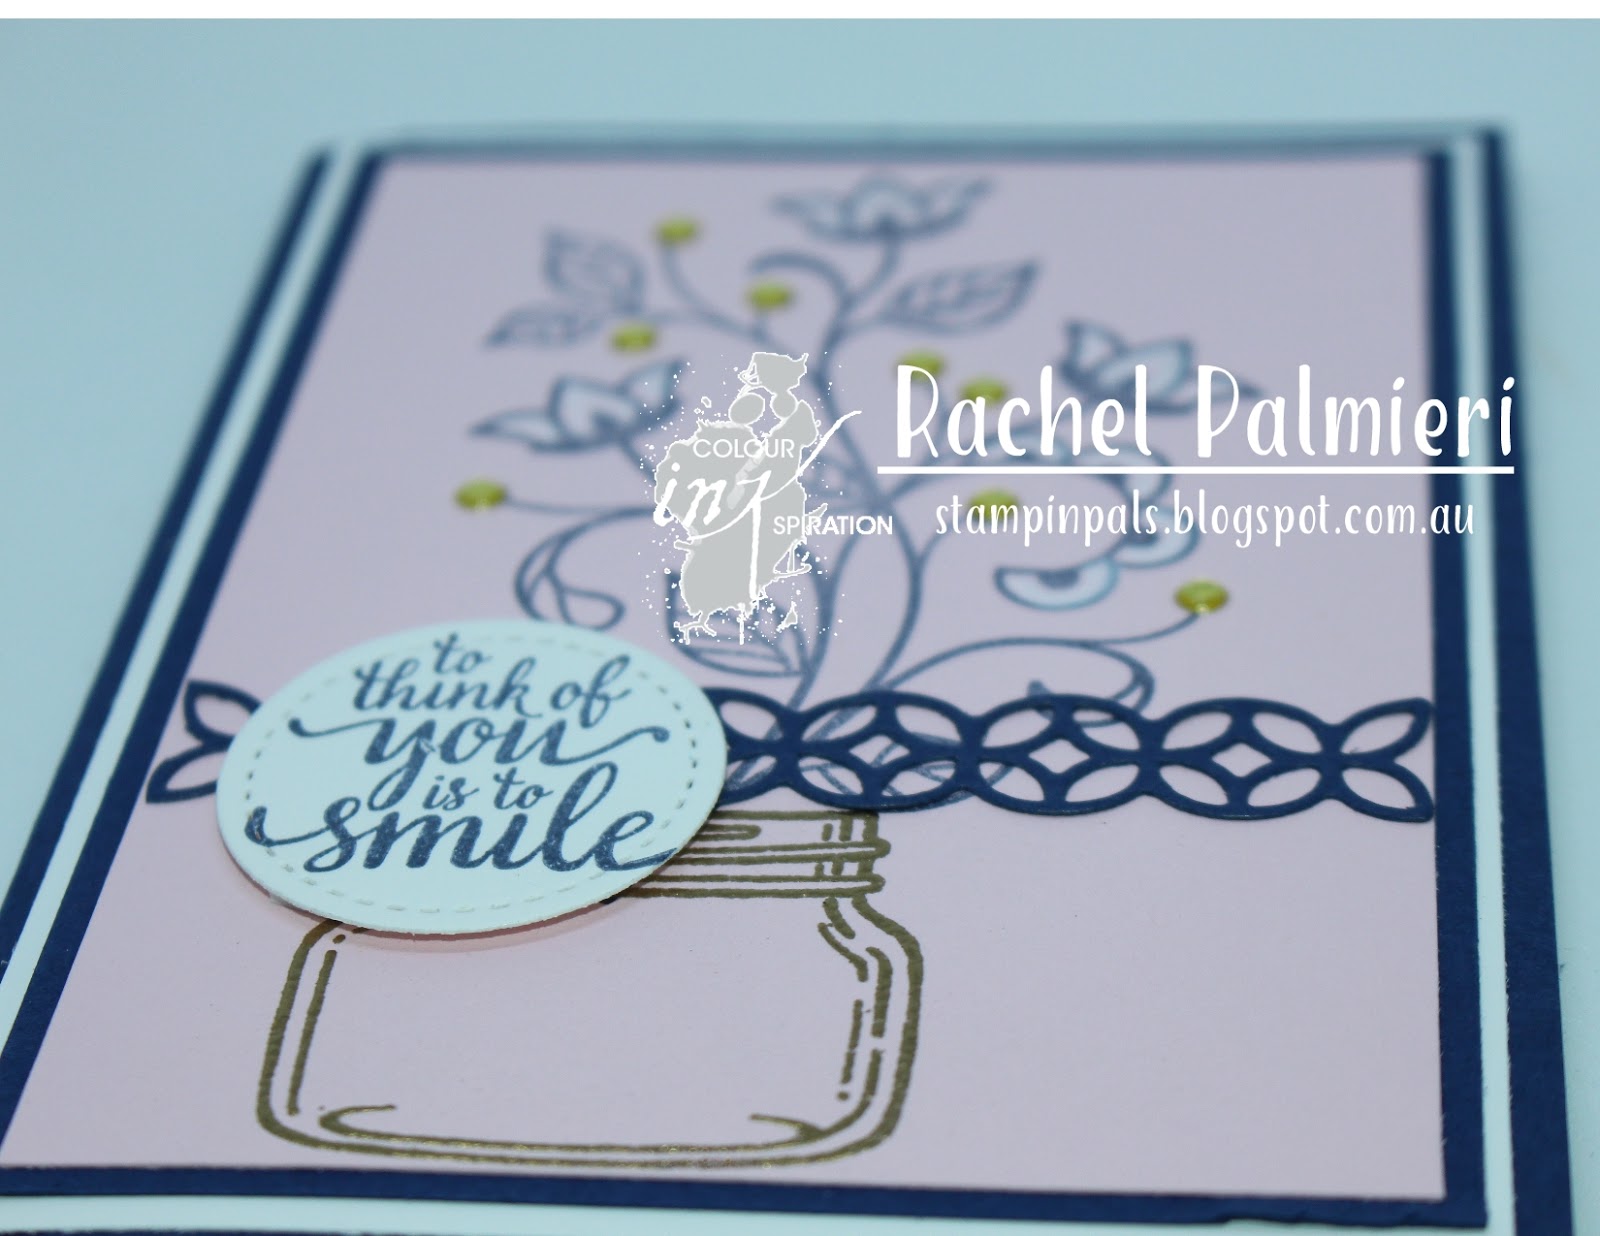
I made 2 versions of cards with these colours, because I could see an image in my head but it wasn't transferring to paper in the same way. I imagined Version 2 would be my favourite as I generally like a clean & layered look, but I do rather like version 1 after all.

VERSION 1

Version 1: Heat embossed gold jar and stamped some navy foliage. Decided it wasn't showing well enough, so die cut with a variety of dies, flowers and foliage in Navy or white. Layered up the sentiment on Navy and gold and added a gold sparkly bow. Sentiment is from All Things Thanks.

VERSION 2

Version 2: Heat embossed gold jar at the same time as the first version. Stamped a single sprig of flowers and foliage. Used the Chalk marker to fill in some petals, and popped gold dots in amongst the stems. Sentiment is from Eastern Beauty and the flower stem is from Flourishing Phrases.


Even though the Crew are from the South Pacific Region, the challenge is an international one; so if you love all things Stampin’ Up! ®, please feel free to join in.  You don’t need a blog to enter. Click on the badge below to take you to our Facebook page –


Next talented artist to visit is the lovely Rose Packer


PMGJPHEN


Wednesday, 11 April 2018

Sunflowers In Ravenna CI#31


Colour INKspiration is a fortnightly blog initiated by Bronwyn Eastley in Tasmania. The design team is made up of Stampin' Up! demonstrators from all parts of Australia and New Zealand.You are at the blog of Rachel Palmieri, Independent Stampin' Up!® demonstrator. I run classes at my home studio in South Morang, Victoria, share Stampin' Up!® products and tools at parties for my customers, coach my lovely team and create cards and the occasional 3D project.

Image may contain: food

If this isn't a church in Ravenna, Italy, it reminds me very strongly of it. I believe it was 2011 that my husband and I visited his country of birth, so a lot of water has passed under the bridge since then. Another thing that I strongly remember was the field of sunflowers near where we parked - and thus began my infatuation with that flower. Every summer I grow some in my garden for the memories of sunny Italy. This might explain to you how I came to make this card for Monique's inspiration picture.


Because I had a large assignment to make displays for Stampin' Up!® Onstage Sydney (7 April 2018) I didn't think I would have time to make any swaps to take with me. After my Stamparatus was delivered, I began to consider it was a possibility if I worked smarter, not harder. 
  1. I wanted to try out the Stamparatus
  2. I needed to make multiple identical cards to swap with other demos at Onstage 
  3. A project was required for Colour INKspiration using Old Olive, Crushed Curry, Tempting Turquoise & Cajun Craze for 11th April
The planets aligned and all three problems could be addressed at the one time!!!!

You may have not met the Stamparatus yet, but let's just say, my stamp positioning tool by that other company starting with M has been retired. It's compact, small enough to pack for crafting at friends houses and easy to pop in a drawer or on a shelf at home.


I used 4 different stamp placements, so both sides of the hinged plates were set up with the stamps in position. There are 2 parts to the flower petals, the centre of the sunflower and the sentiment. I found it best to ink both lots of yellow petals on all cards, and then go back and put in the flower centre, and the sentiment.

The three dot stamp was hand stamped without much of a plan in darker brown (can't remember which one) and quite randomly before cleaning it off and stamping with the turquoise. I think turquoise gives an extra-fresh, clean look.


Partial textured embossing was next job on the list, then adhering to the Tempting Turquoise card. Finally I added the stamped and punched leaves, again using the Painted Harvest set and the Leaf Punch #144667. At only $28 this punch is invaluable for adding some foliage to your favourite stamped flowers.

Enough from me, let's go to see what Narelle Farrugia has shared


PMGJPHEN


Wednesday, 8 November 2017

Eclectic Blooms CI#21


Colour INKspiration is a group of Stampin' Up! demonstrators from the South Pacific, all through Australia and New Zealand. We love to get together for these colour challenges, to inspire each other, and you, to create. We love it when you join in with our challenges to share your work and all you need is a Facebook presence. You can link in here on Facebook.


I thought about this challenge for a while as I could only see the obvious, perfect colours for a flowery card. While I have chosen a favourite flower thinlet, Eclectic Layers, it has been paired with an older technique, which we have the opportunity to explore now that glossy paper has returned to the Stampin' Up!® inventory.
Image may contain: flower and plant


The black layer was cut much smaller than the polished stone layer to show more of the pretty colours, but with my other cards I've kept the two layers even. The black layer was diecut with the flowers but not using the outer edge which cuts them out. For the stems I turned a die upside down and only partially rolled it through the Big Shot. After die-cutting, the black layer was raised on Dimensionals. The Glitter Enamel Dots seemed close enough to the challenge colours to include, for a touch of 'bling'!


This technique is called Polished Stone and to do it - it's very easy! - you need glossy card, rubbing alcohol and reinkers in your chosen colours. I taught this in a class several years ago, and I think it might be a fun one for early 2018, what do you think? I cut the card to 10cm X 14.3cm and coloured in a variety of combinations. Each one turns out differently, even if you try to get the same result.


For these big butterflies the totally pink, peach, yellow piece was perfect, with a sentiment from Butterfly Basics.


Another one using a two-tone polished stone piece for a dragonfly and butterfly combo. This is one-with-the-lot! The pieces have been re-inserted, there is the lovely lacy border, Decorative Ribbon Border Punch and layers - lots of layers, inside and out!
Now it is time for you to head on over to share a project made by Jackie Aitken.


ZTQVTQPR
Any orders in my online shop with the Host code receive a gift from me in the post. Since November is my birthday month, I am adding a handmade birthday card as well, for you to send to someon else.